Clean your coils

https://onedrive.live.com/view.aspx?resid=5B36EE425804D913!2920&app=Word&authkey=!AOtPD07z3hcbkgc
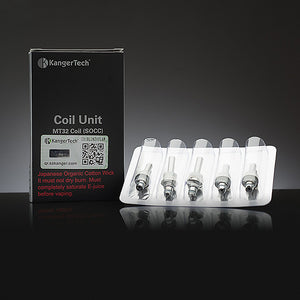
How to dry burn your T3s to clean the coil. Over time you may notice your clearomizer isn't performing the way it did when it was new. You might be getting a different taste or reduced vapor volume on each puff of the vaporizer, which normally is resolved by replacing the bottom coil on clearomizers such as the Kanger T3s, MT3s, EVOD, T3,slim T3, or Protank.
Rather than throw out your coil you can try a "dry burn" which will help clean the accumulated gunk that has built up causing your performance issues. To dry burn your atomizer coil, you will need a battery, paper towels, tweezers, and your e-liquid. Begin by unscrewing the base from the Clearomizer Tank. Remove the gasket from the stem and set it aside. You will put this back on when finished. Pop the center stem off of the base.
Use a paper towel to help you grip the stem and give it a tug (it may take a bit of force). I would not do this over the sink because your wick may pop out and we don't want it going down the drain! You should have something that looks like thisUse your tweezers and remove the exposed wick sitting in the groove on top of the base and set them aside. Your wicked coil will now be exposed. Give the exposed coil and base a quick rinse with cold water. After rinsing, take a paper towel and gently pinch the top of the base at the wicks to help soak up the water. Make sure to get the battery connector side dry! Attach the base on to your battery. Push the power button in 1-2 second increments to begin burning off the crud that has accumulated on the atomizer coil.
Periodically blow out any ash that has accumulated in the base. Continue the dry burn until you no longer see any crud burning off. Your coil should look like this after burning off all the crud. Take your flavor wick and use a paper towel to gently pat it dry. Use your tweezers to put the wick back into the grooves on top of the base. Prime the coil by adding a couple of drops of e-liquid to the flavor wick to help avoid dry hits once you have the tank reassembled. Snap the stem back into the base. Put the gasket back on to the stem to finish. You can now fill your clearomizer tank with liquid and screw the base back on! Hopefully the dry burn allows you to save some money and extend the life of your coil. I hope you have found this post helpful, please fill free to leave any other tips you may have on the topic in the comments!